Configuration Steps
- Create a Azure Data Lake Storage Gen 2 storage account, make sure to enable Hierarchical namespace. Read Microsoft KB here.
- Create a Synpase workspace and select newly created data lake storage as Account name and blob container as File System name.

- Assign Storage Blob Data Contributor permissions to Synpase Workspace in the Storage account.

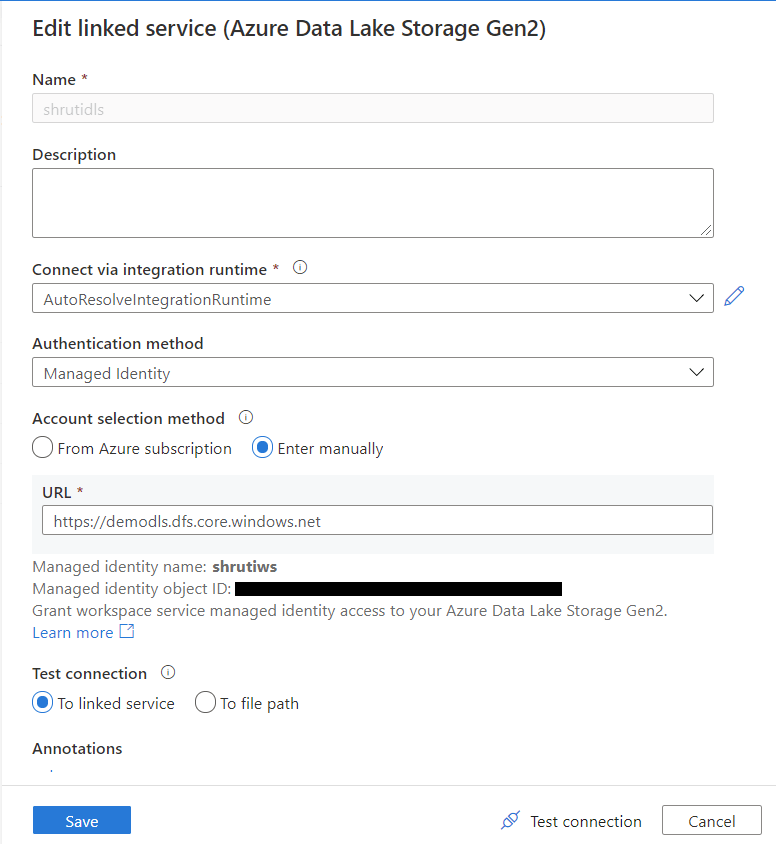
- Open Synpase workspace and browse to Manage then Linked Services to add storage account. Click New and select Azure Data Lake Storage Gen2 option.

- Select Managed Identity as Authentication method and test connection before Save.
Load Data into Azure Synapse using Polybase
- Add a new pipeline under Integrate and drag “Copy Data” shape to the workspace.
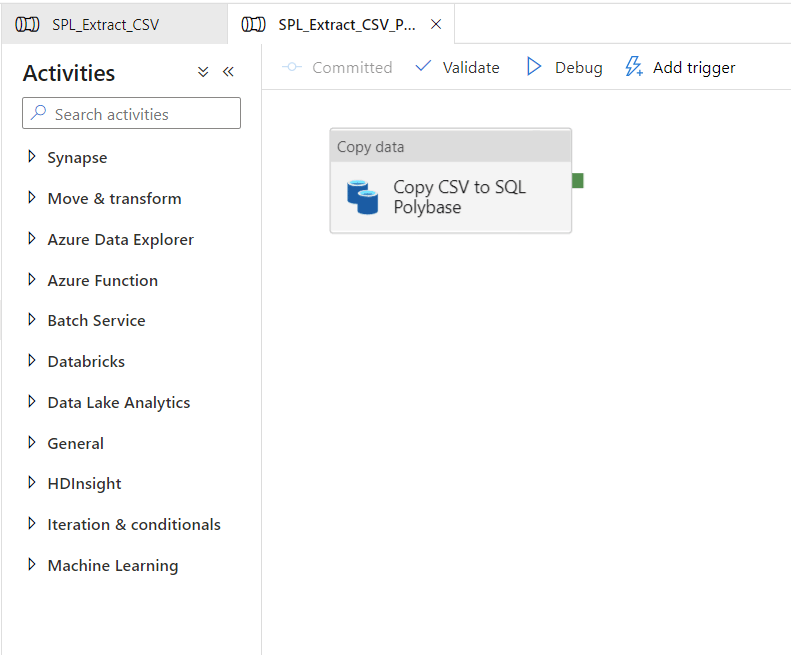
- Under Source select the source data store from data lake storage (e.g. csv or excel) or create a new data source using File System option.


- Under Sink select the target table. Make sure to Select Polybase as copy method. Validate and commit the changes in the pipeline.
